I recently wanted to start recording sound in a maybe not professional but at least somewhat decent way that does not sound horrible. That of course requires a microphone. Unfortunately decent microphones can run quite expensive (just like apparently every single one of my hobbies) so I decided to check for recommendations.
Microphones usually come in either USB or (better) XLR versions so you can either plug them into a computer directly or connect them to a sound board and then connect that to a computer. While I am sure this would provide by far the best sound I looked around for more universal and cheaper alternatives which do not involve buying half a music store.
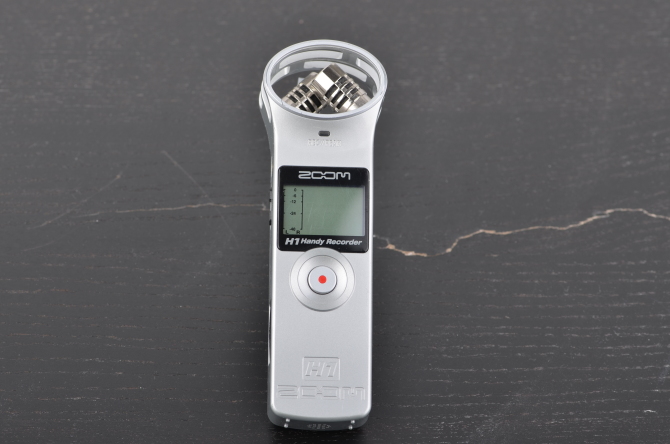
One of the most common recommendations was the Zoom H1 which is not only a microphone but also a recorder and is kinda like a dictation machine. It can record from its built-in microphones or record from any other 3.5mm jack audio source. Recordings go to its internal microSD card or it can even be used as a USB microphone starting with the 2.0 firmware. Pricewise the H1 runs for roughly 100€ new (that’s roughly 100 american for you).
Since I am a cheapass I got it off eBay for roughly 65€ which also explains why it is in this silver colour. Oh and by the way if you click the images you’ll see them in ridiculous (original) size. Yes my table is broken but you can try to pretend it’s lightning striking the devices in a dramatic manner.
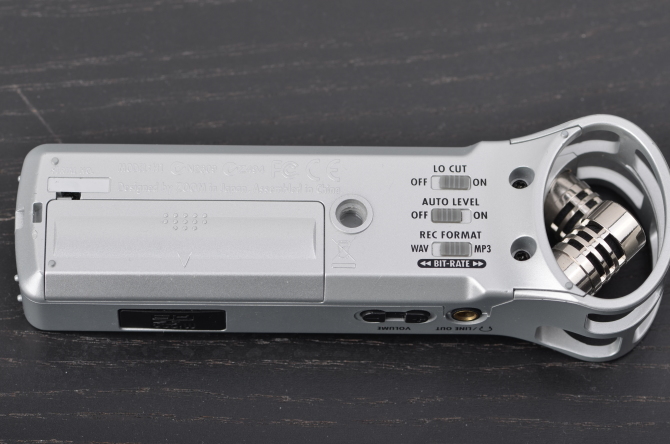
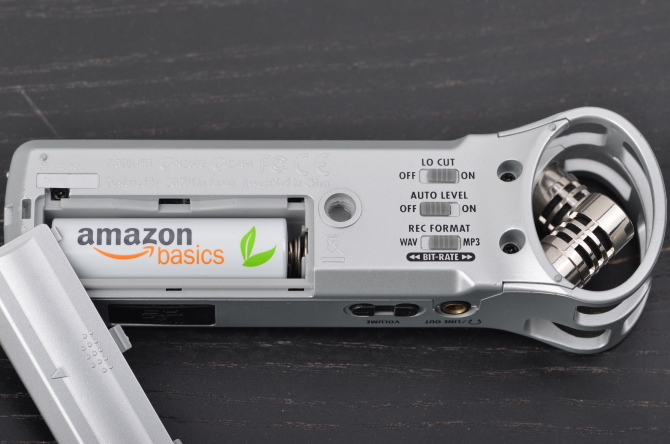
It has a number of settings in the back and also a battery compartment to put in a single AA battery. Part of the battery compartment is broken off (yours should not look like this), but it records just fine. H1’es are famous for having shoddy build quality and this one is no exception. Came pre-broken so I didn’t have to break it.
This thing eats through batteries so I recommend putting in a decent battery. For example the Amazon Basics-branded eneloop. I ended up ordering some eneloop pros (not pictured since not yet arrived) but most quality batteries should do just fine.
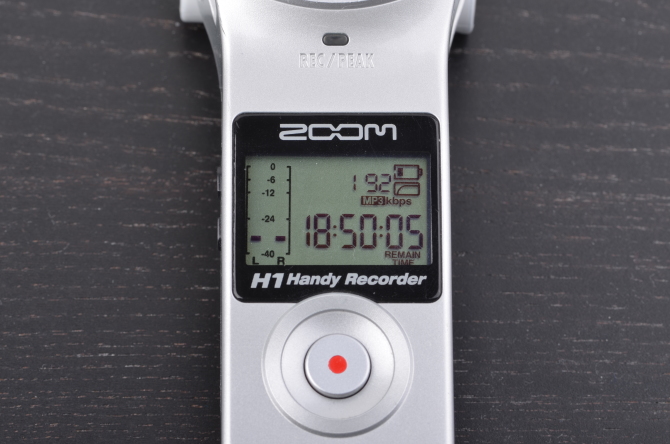
Turn it on and see some friendly greeting message (Zoom is a japanese corporation so the device says “hi” when starting and “goodbye” when you turn it off again) followed by the expected capacity for recording. This is nearly 19 hours of 192kbps MP3 on the 2GB card it shipped with, less with WAV. It can take up to 32 GB microSDHC cards which would probably last longer than my life expectancy.
This is also a great time to upgrade the firmware if you haven’t yet. You can see the version when it boots up, above the greeting. The most important update is version 2.0, since that adds USB microphone functionality. I quite like the fact that Zoom shipped such a useful feature to a device already on the market. The update to 2.1 adds… nothing but fixes issues connecting the USB 2.0 H1 to USB 3 ports on computers (the changelog says USB 3 support but let me assure you, the firmware can’t update the hardware).
Trying it out worked pretty well though unfortunately there is quite some breathing noise because I have lungs and occasionally exhale which is very much audible on the recording. The usual recommendation is to get a popping filter which also filters out popping noises of letters like “P”.
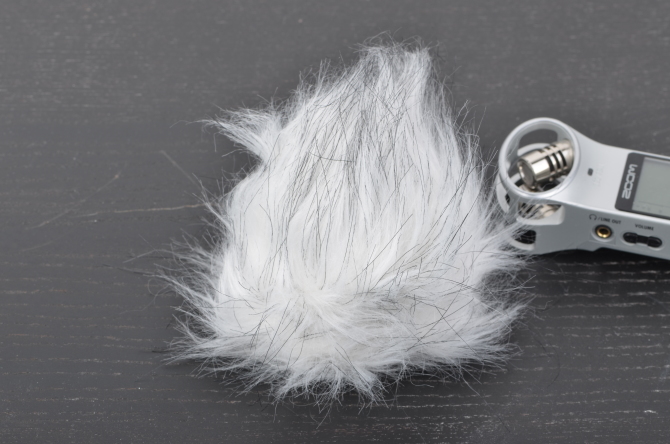
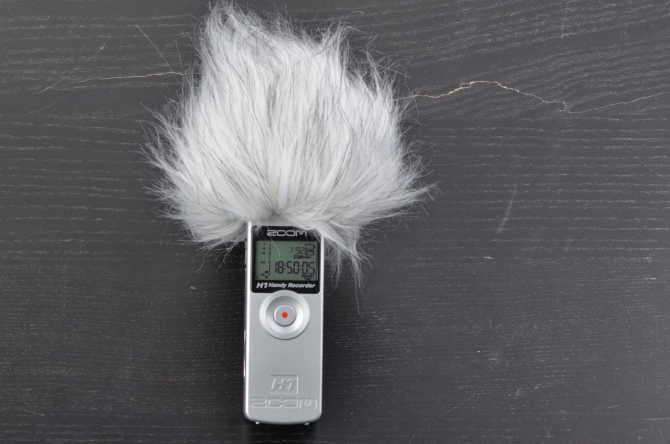
I went for something more stylish and slighly more universal: a dead cat. Or rather dead kitten. The fur of these dead critters, when put on the microphone filters out strong air movements like my titanic breath or the wind outside so in case I ever decide to leave my appartment I can use it outside. After searching the floor for dead or alive cats and only finding empty whisky bottles and sentient dust bunnies I turned to online shopping which netted me the Movo WS1. They sell the dead kittens ready to use:
Oh look, it’s the British foreign minister!
Shock mount assembly
Cool, the breathing noise is gone, I don’t have to hold my breath for 10 minutes when recording. But I’m always dissatisfied and now it’s the handling noise, because the microphones pick up all button presses and movements of the Zoom H1 so my recordings sound like I’m dragging that poor device through hell.
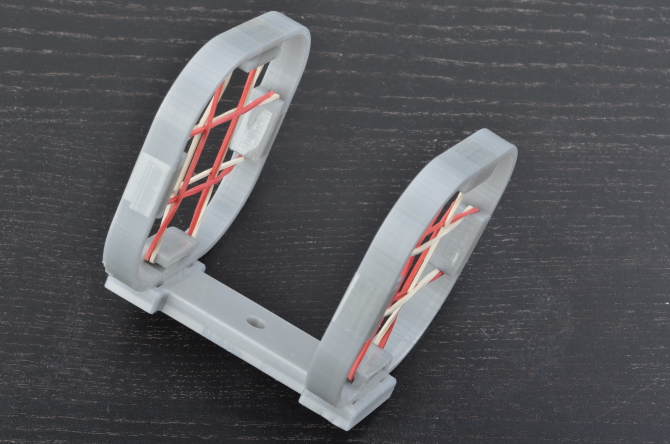
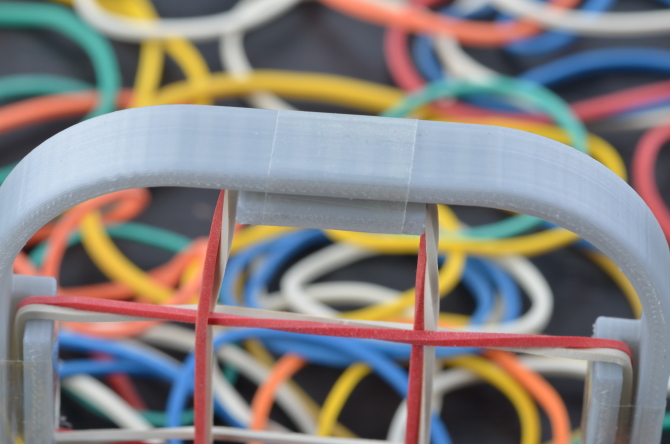
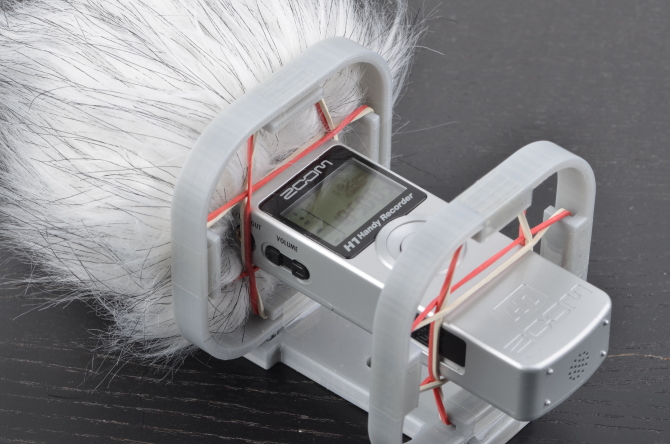
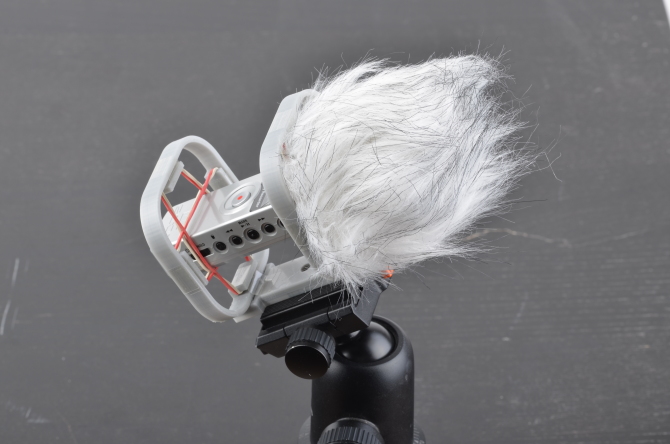
What I need is a shock mount! I could certainly buy one but why pay for something decent when you can 3D print something… less decent but cheap! Here’s a Zoom H1 shock mount 3D model. Put it in the 3D printer, print for 4 hours and add some 1€-store rubber bands:
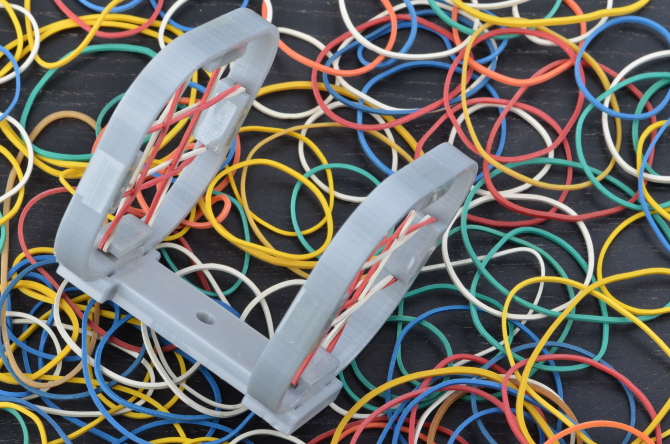
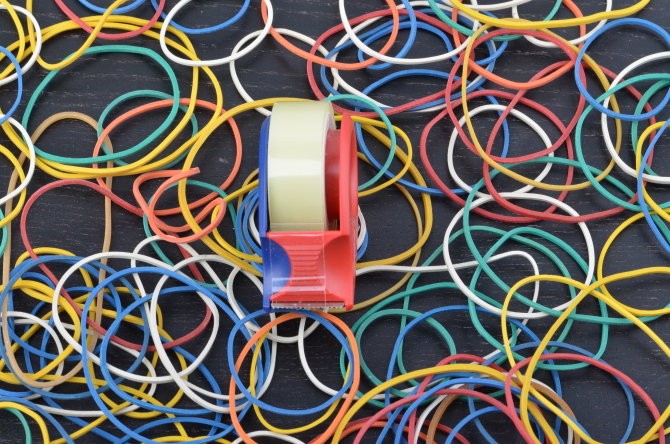
I got a lot of rubber bands; let’s make this a cheerful piece of art that smells of latex (just like my hands):
Also needed some scotch tape and since I’m in Germany it’s of course Tesa (pronounced Teh-Za); add that to our art installation:
Tape the rubber bands on so they don’t bugger off. Could’ve used gaffer tape for more nerd-cred but Tesa’s easier to handle.
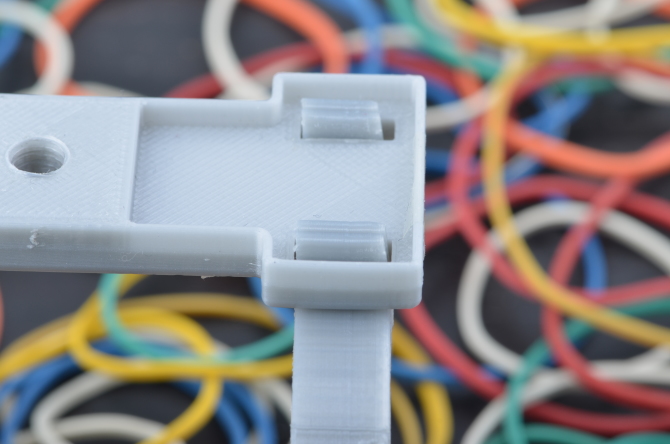
I printed it in three parts which had to be assembled somehow using the clip mechanism. Unfortunately it ended up being too imprecise for nice joining. After forcing the 3 parts together with nearly deadly force, they’ll probably never come apart again. Maybe not the best if you want to stash it for travel or something.
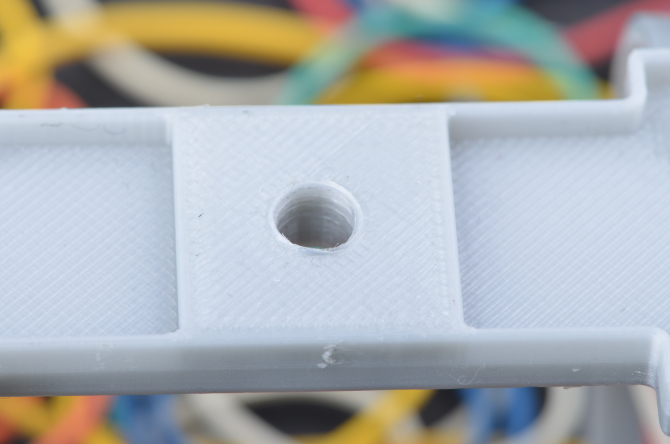
A nice detail of this shock mount is the fact that it has a hole for a ¼” screw, just like the Zoom H1 itself. It can be used to mount this mount (yo dawg) on a lot of things.
Unlike the Zoom H1 this hole has no threading but when you attempt to screw in a metal screw (don’t use plastic ones, and by the way, where did you even get plastic screws from?) it will create threads in the plastic. Neat. The pen may be stronger than the sword but still a metal screw beats PLA plastic.
Autobots assemble! What a great matching set of colours! The shock mount is ready but now it lays around sadly on the desk. Let’s put it on something.
Mounting on tripod
Since I am an great photographer (shut up, I am! cough) I have a tripod available so what better place to put it on than there. I started with the premise of a cheap stand, you say, and now I’m introducing an semi-expensive tripod? Oops. To my defense, recording stands can be inexpensively ordered and the contraption we build should attach to one just fine.
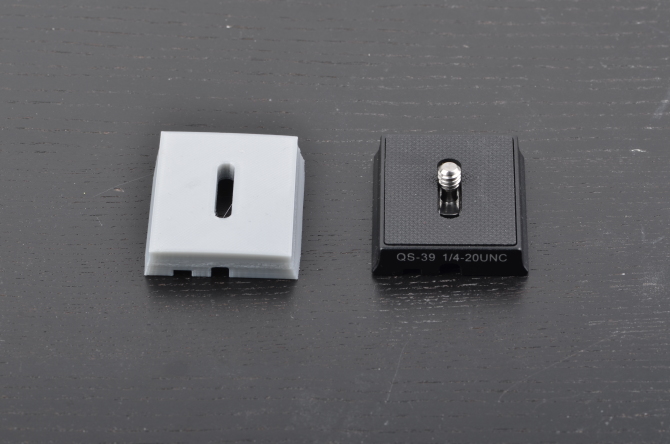
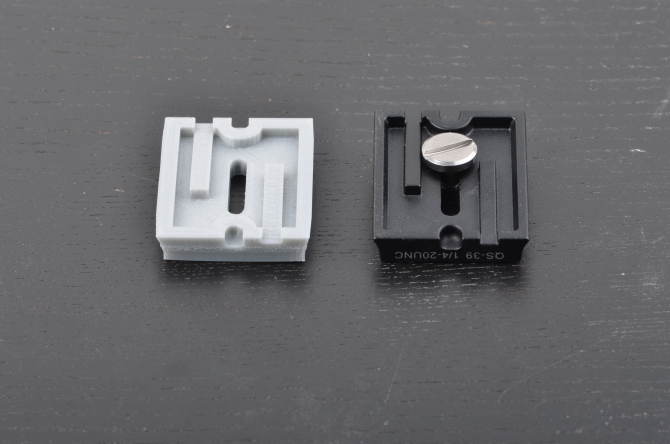
First I need a plate. Since I already use one for my camera I’d need a second one. Looked up on Amazon, 20-25€ for this small piece of metal? Gotta be kidding me! Back to the 3D printer, we have some more extruding to do.
It’s plastic but neither the Zoom H1 nor the shock mount are heavy therefore some 100% infill plastic thing will be sufficiently durable. The model linked works kinda alright for my tripod but it’s not great: one orientation is fine, in the other one it slips out of the release unless I fasten it. Still pretty good for a random find on the Internet that cost me zero minutes of my life time to design.
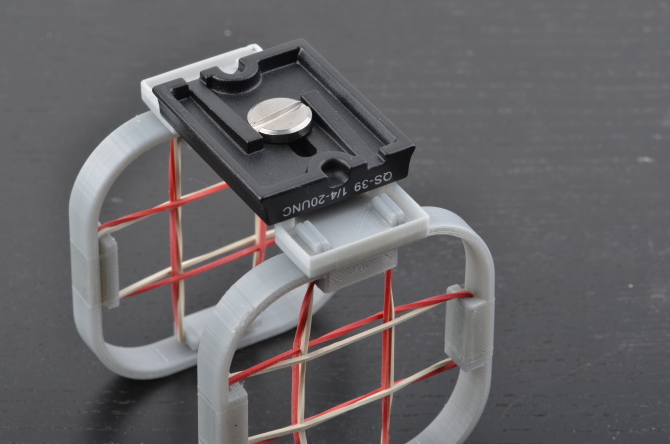
While I wait on the mounting screw to arrive from eBay I’ll continue with the legit tripod mount. Screw it into the mounting hole of the mount potentially cutting threads into the mount. First time is the most painful, as they say (albeit about a different screwing activity).
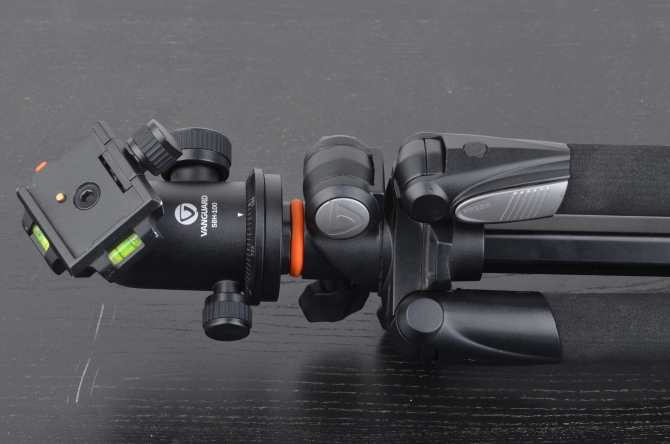
Grab your trusty tripod. I got this one. It’s not great but it’s mine.
For maximal professional look, you definitely need some headphones. Not only does it look super pro to have headphones on (even if you don’t plug them in anywhere), but if you plug them into the H1 you can listen to yourself being recorded. I love listening to myself mansplaining so that’s perfect.
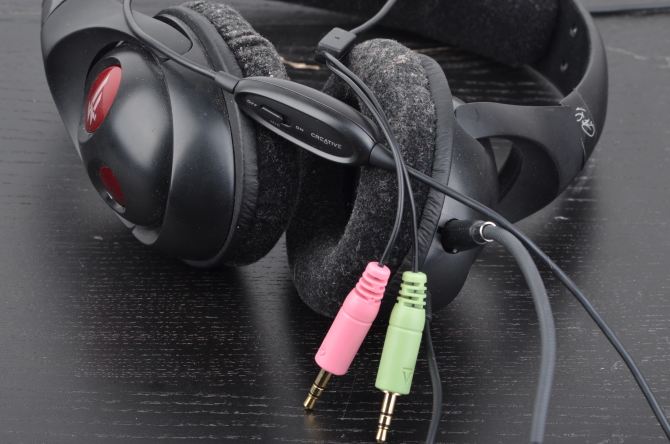
Therefore another piece of the kit: Creative Fatal1ty hyper-cool gaming headset I had laying around. Because I’m a pro-gamer. As you can see I use them all the time which explains the massive layer of dust. But any headphones will do, they only need a 3.5mm jack. This headset also comes with a microphone that I could plug into the H1 and record from the headset microphone. Though probably this mono microphone is worse than the XY-microphone array of the H1.
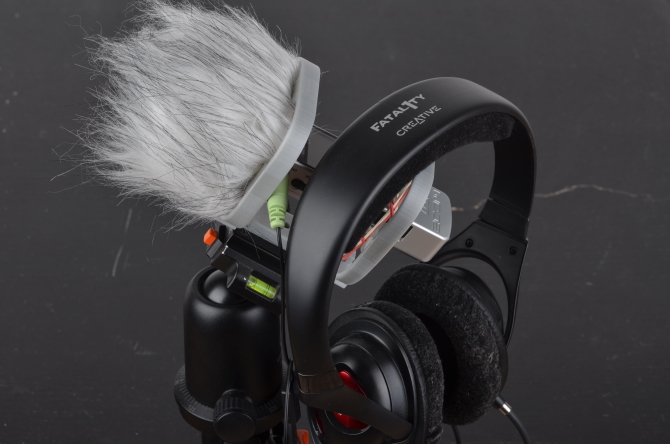
Put the shock mount on the tripod, set it to a reasonable height that works for you and you’re done. It kinda looks like a rocket launcher array. Don’t use it for launching rockets though, it most likely won’t work and you might hurt yourself.
I prefer to stand while recording but the tripod can also tilt so I could also sit down if my legs give way. It’s also possible to flip the tripod so recording from the floor could work as well. Or maybe from the bed if I don’t feel like getting up.
The whole thing all set up. The headphones are connected to line-out to work as monitor and can even be put on the H1 when not in use. Marvel at the Creative logo! You are a creative now!
Mounting on a camera
Bonus content time! Since the shock mount comes with a ¼” screw you can also mount it on things that are not tripods. Like drills but that would be really pointless. Maybe better on something like a camera for vlogging or filmographing. The bonus images are in ridonculous resolution, in case you feel like inspecting every speck of dust on my table. They all have IPv6.
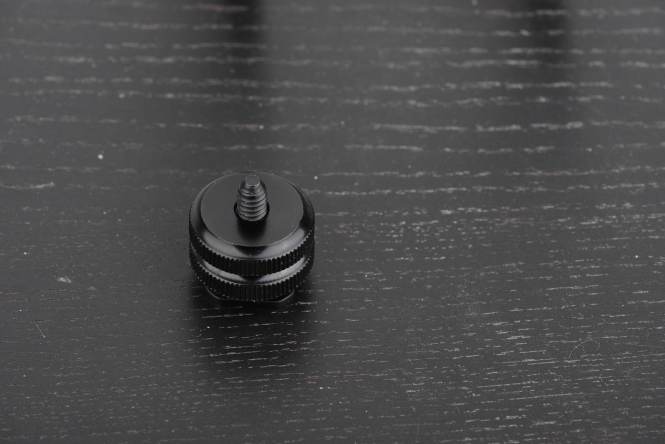
You need this little guy, a ¼” screw to hotshoe adapter. Easily attainable for peanuts from eBay by transporting it around the whole planet from China with free shipping.
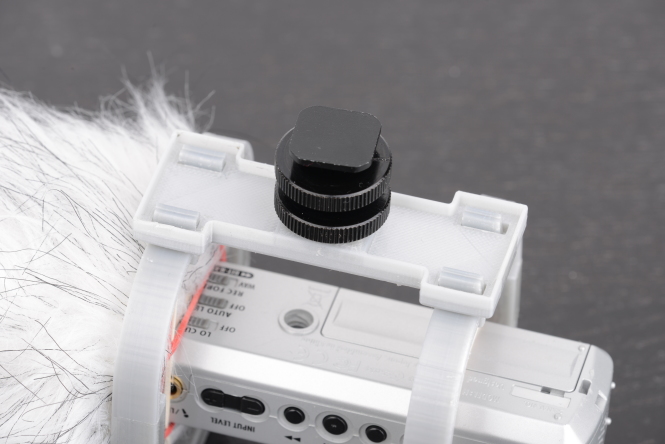
Attach it to the same place where the tripod adapter was. You need to take off the adapter first though.
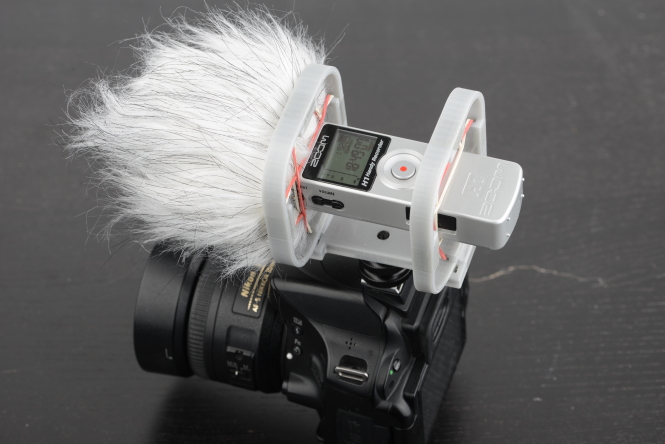
Attach the whole contraption to the hotshoe of your DSLR (or SLR or mirrorless), et voila! If you want, you can connect the Zoom’s line-out to your camera’s line-in (if available) to synchronize sound to your video. Or don’t. I’m not judging you.
Thanks to @learlyman for fixing up my english. All remaining errors are caused by my inability to follow simple directions.
